

Gate and Intercom Upgrade with UniFi Access
A Greater LA property had an old multi-button intercom on a block pillar by its pedestrian gate. Gbit Tech pulled new Cat6, set a UniFi G3 Intercom flush in the pillar and mounted labeled UniFi Access hubs in one junction enclosure.
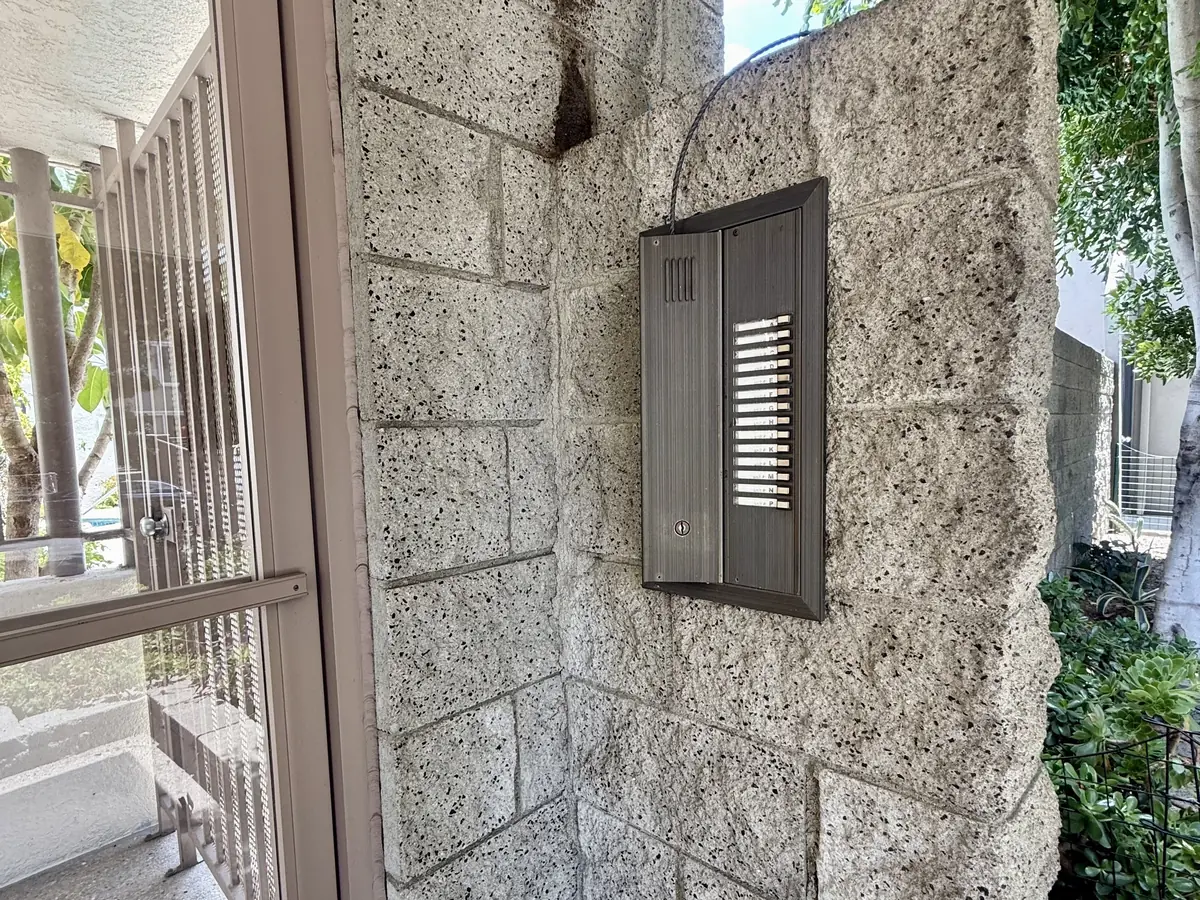
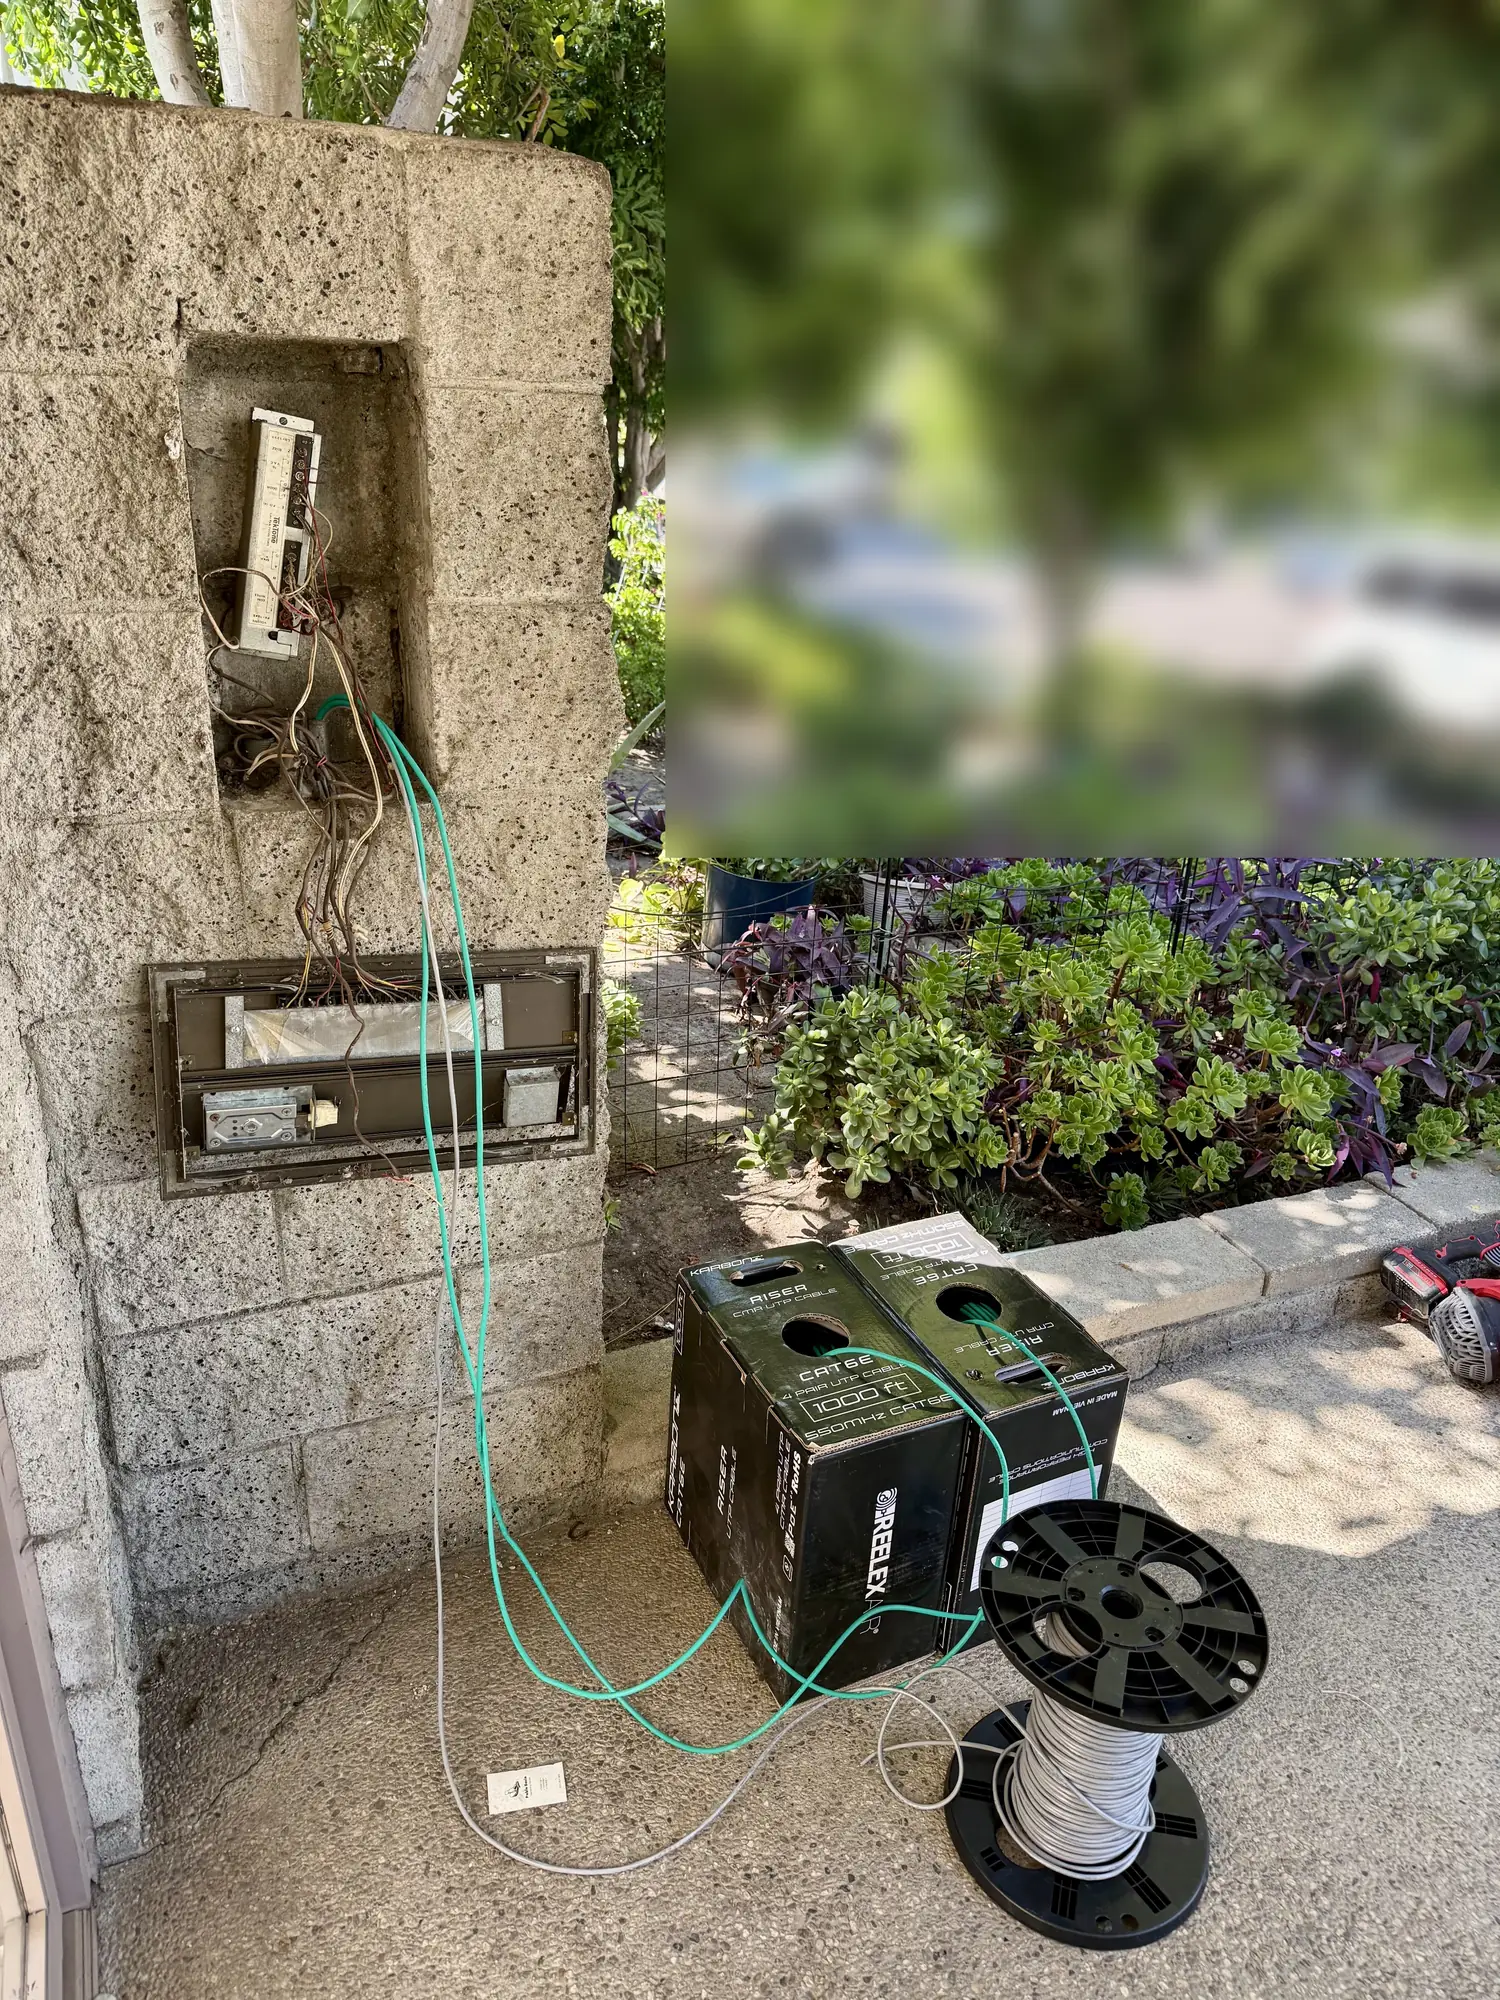
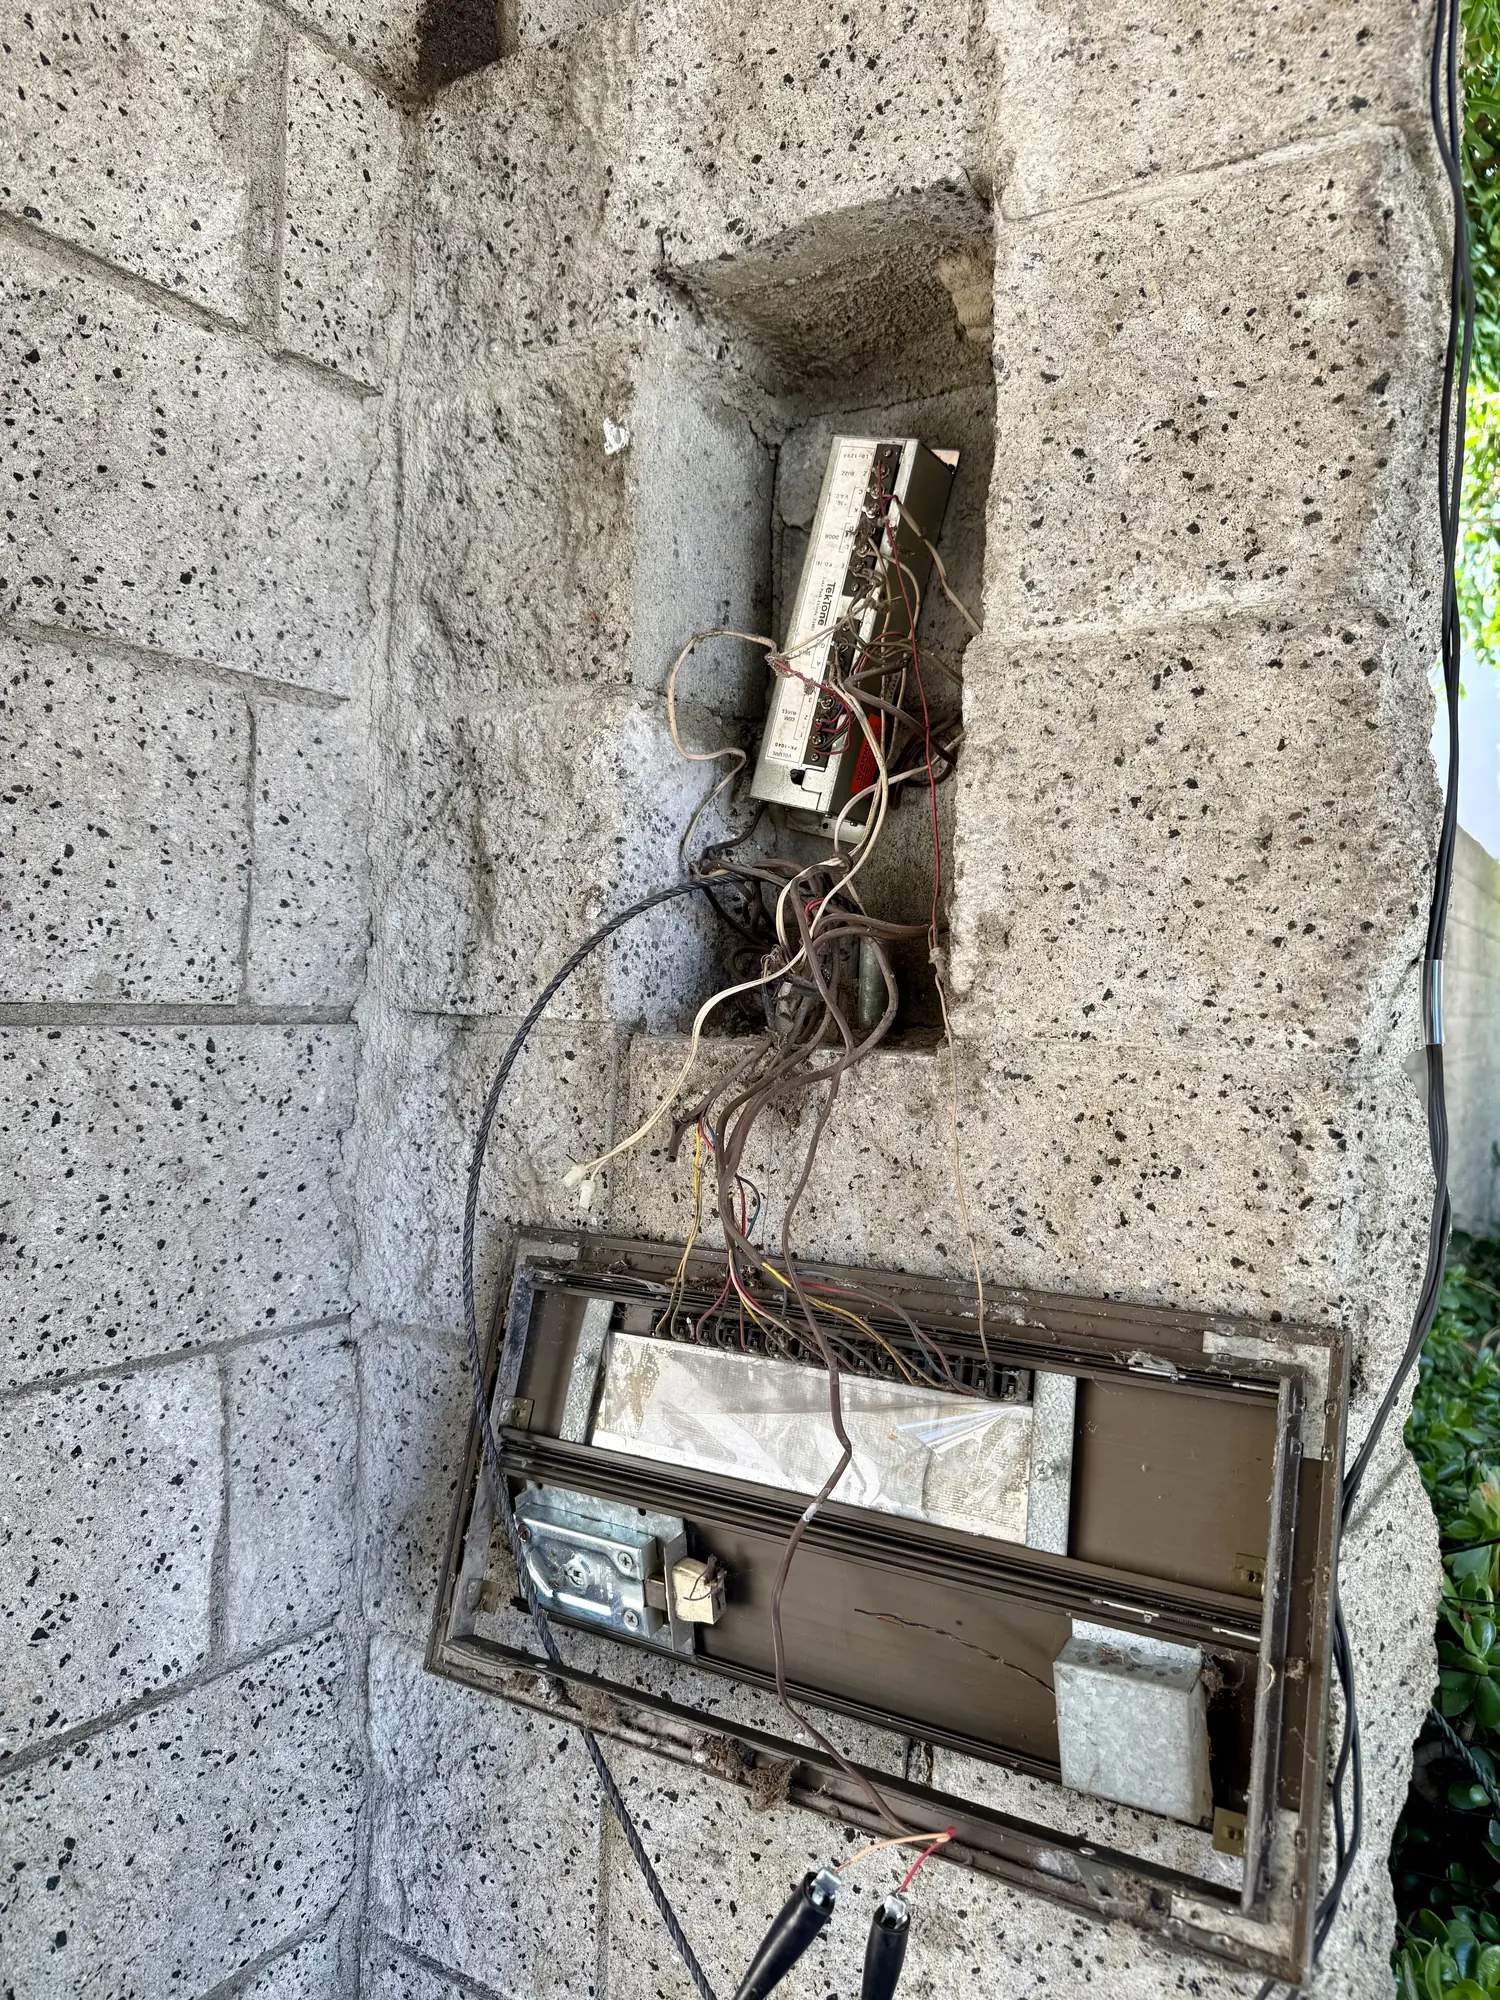
A property in Greater Los Angeles had an old multi-button, apartment-style intercom on a rough block pillar beside its pedestrian gate.
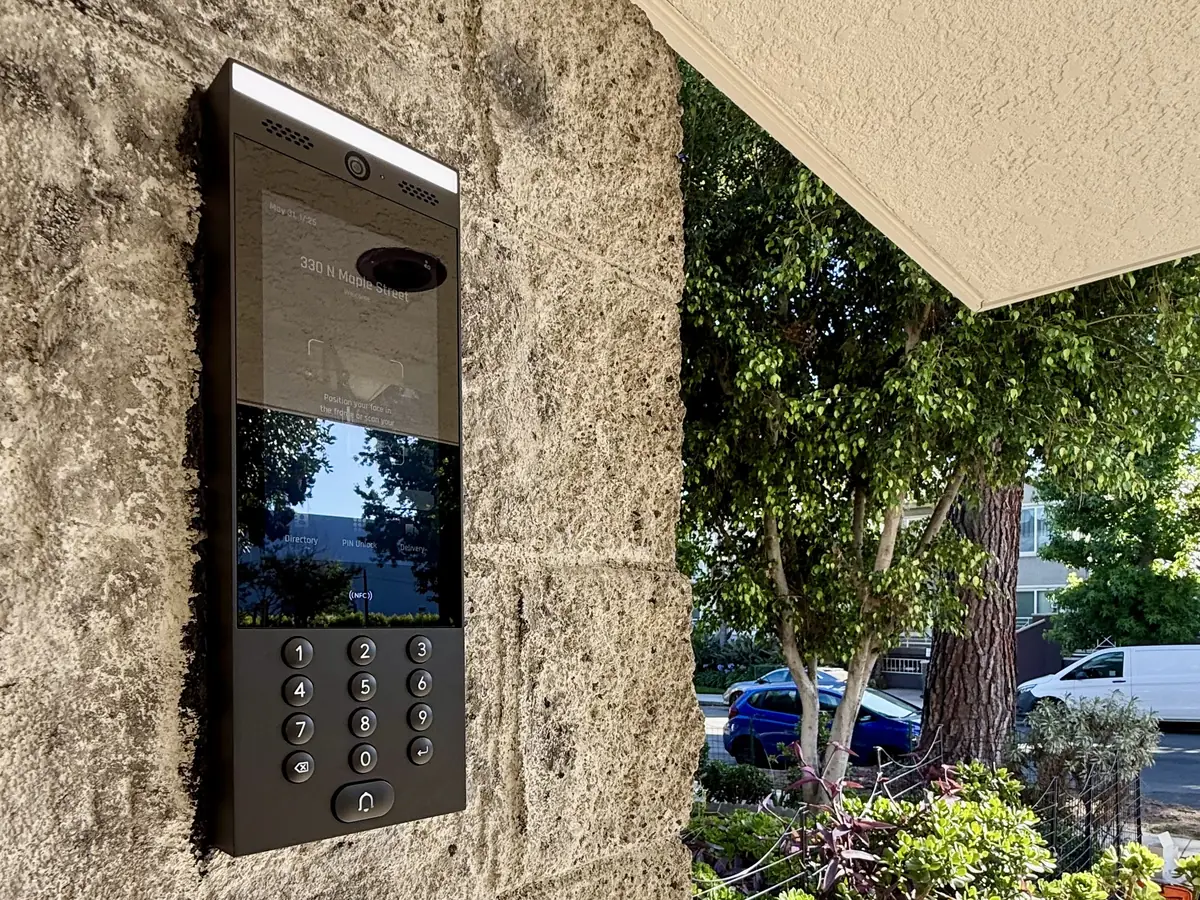
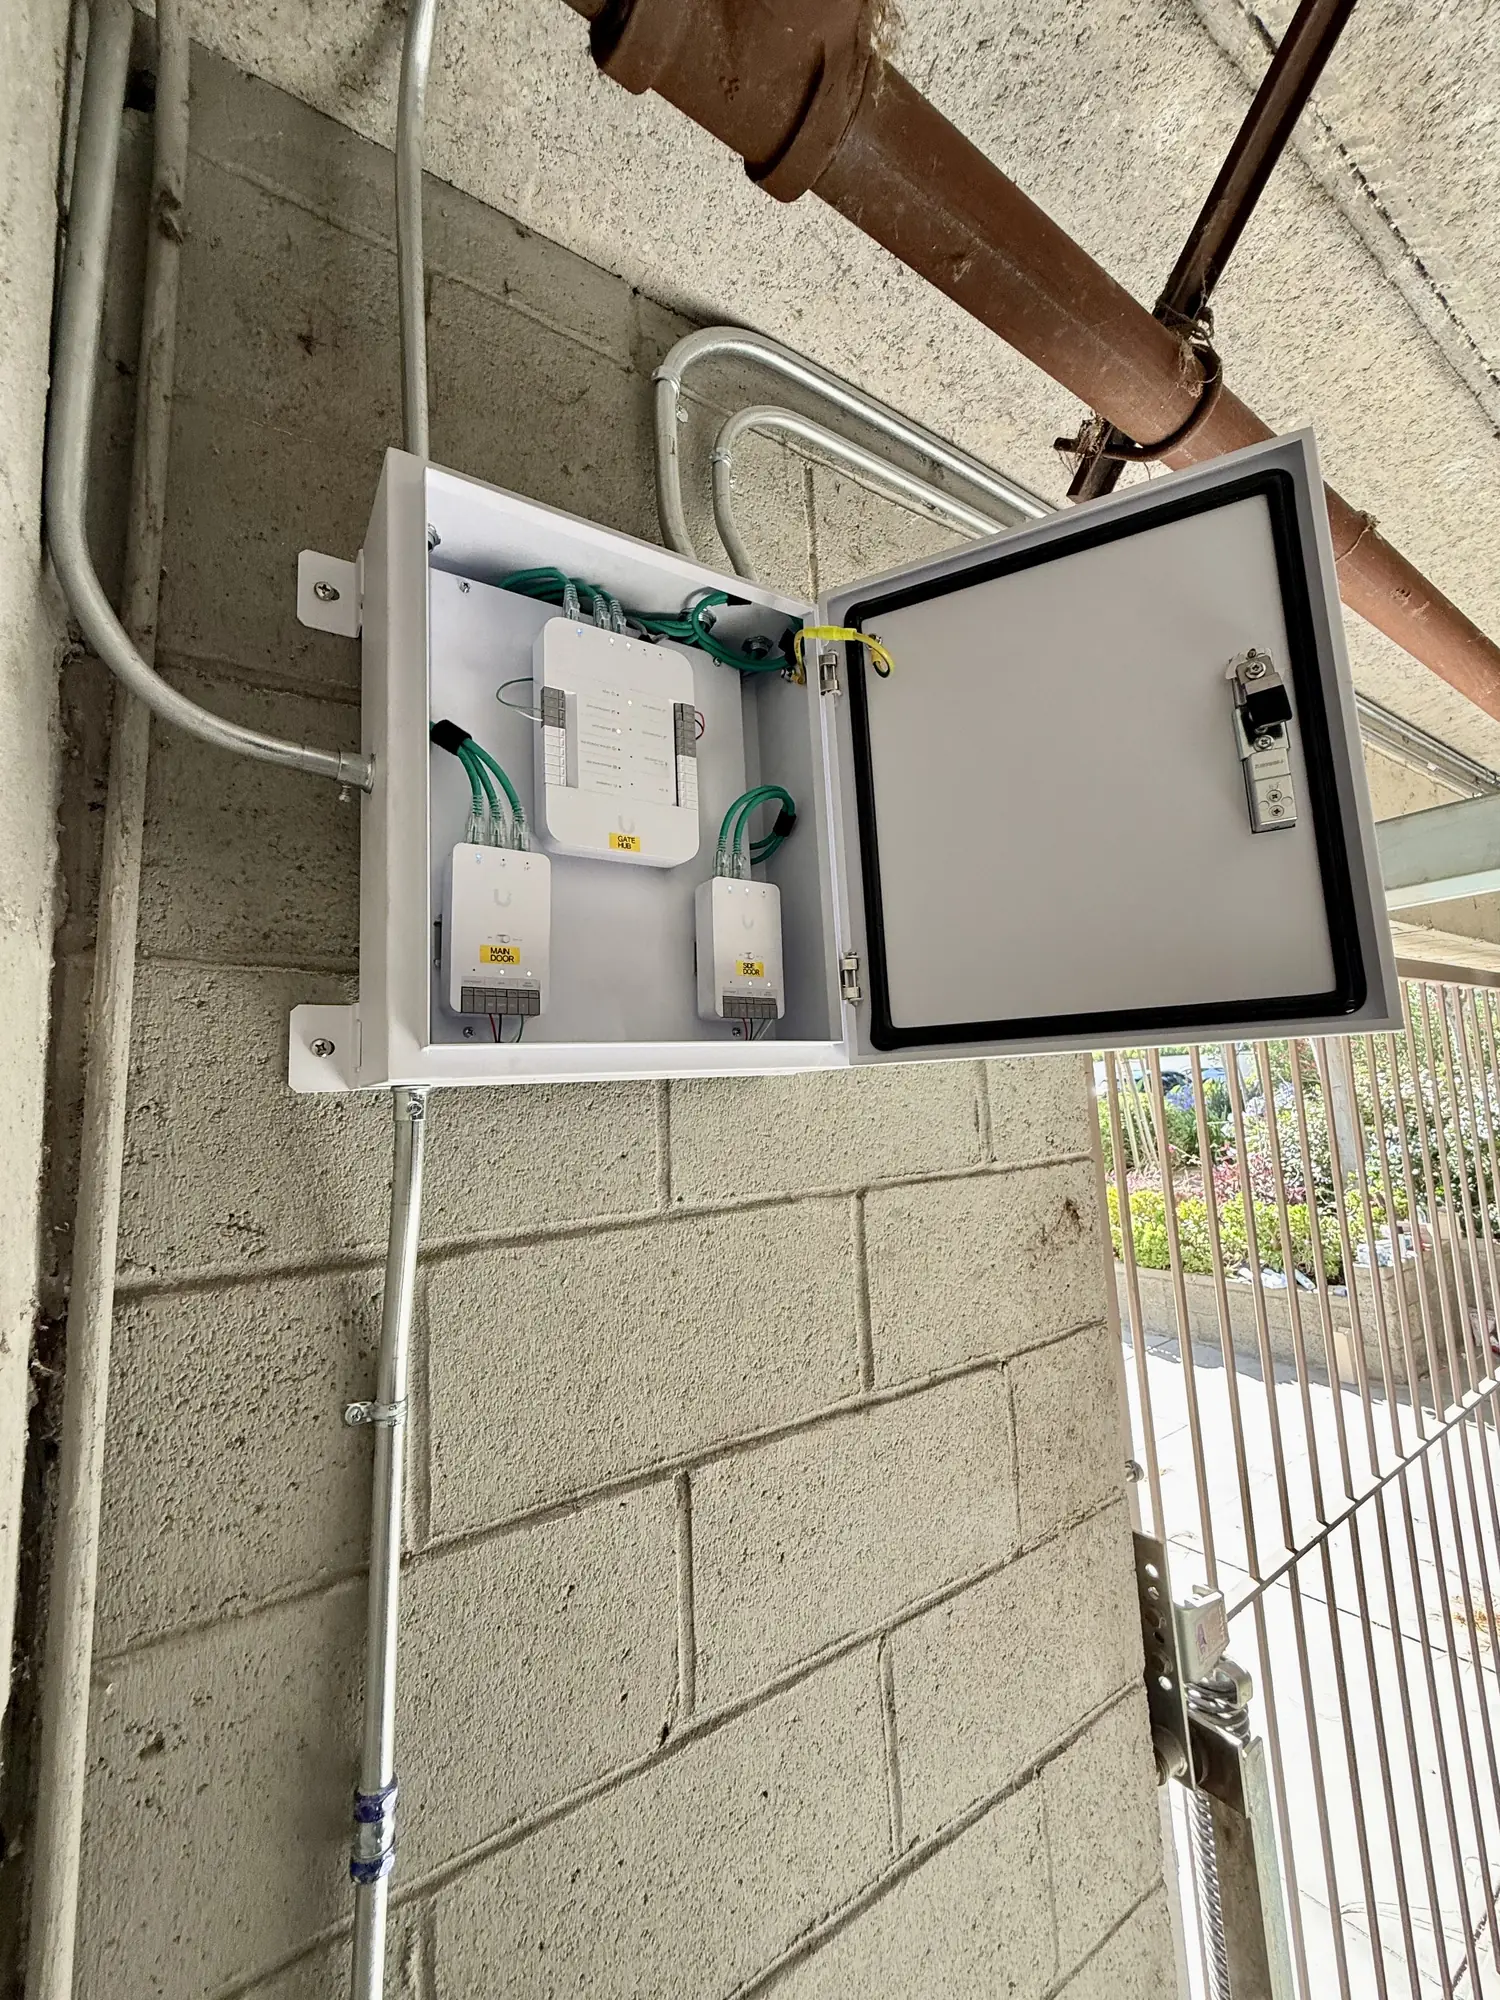
We removed it and set a UniFi G3 Intercom flush in the pillar, ran new Cat6 to it and mounted the UniFi Access hubs for the gate and doors together in one weatherproof junction enclosure near the garage.
We install UniFi Access intercoms and gate hubs that connect to your existing gate operator. We handle the communications and access automation side only, not the gate board or motor.
What stood in the way.
- A rough block pillar that had to be opened for new hardware without damaging more of it than needed.
- Old low-voltage wire and terminal strips left in the pillar from the previous intercom, with the existing strike wiring to be kept and reused.
- A mounting surface for the new intercom that had to be framed and patched inside the block.
- New network cable that had to reach both the pillar and the hub enclosure, working with the existing conduit where possible.
- A hub location that could stand up to the weather and keep the gate and door controls together.
How we solved it.
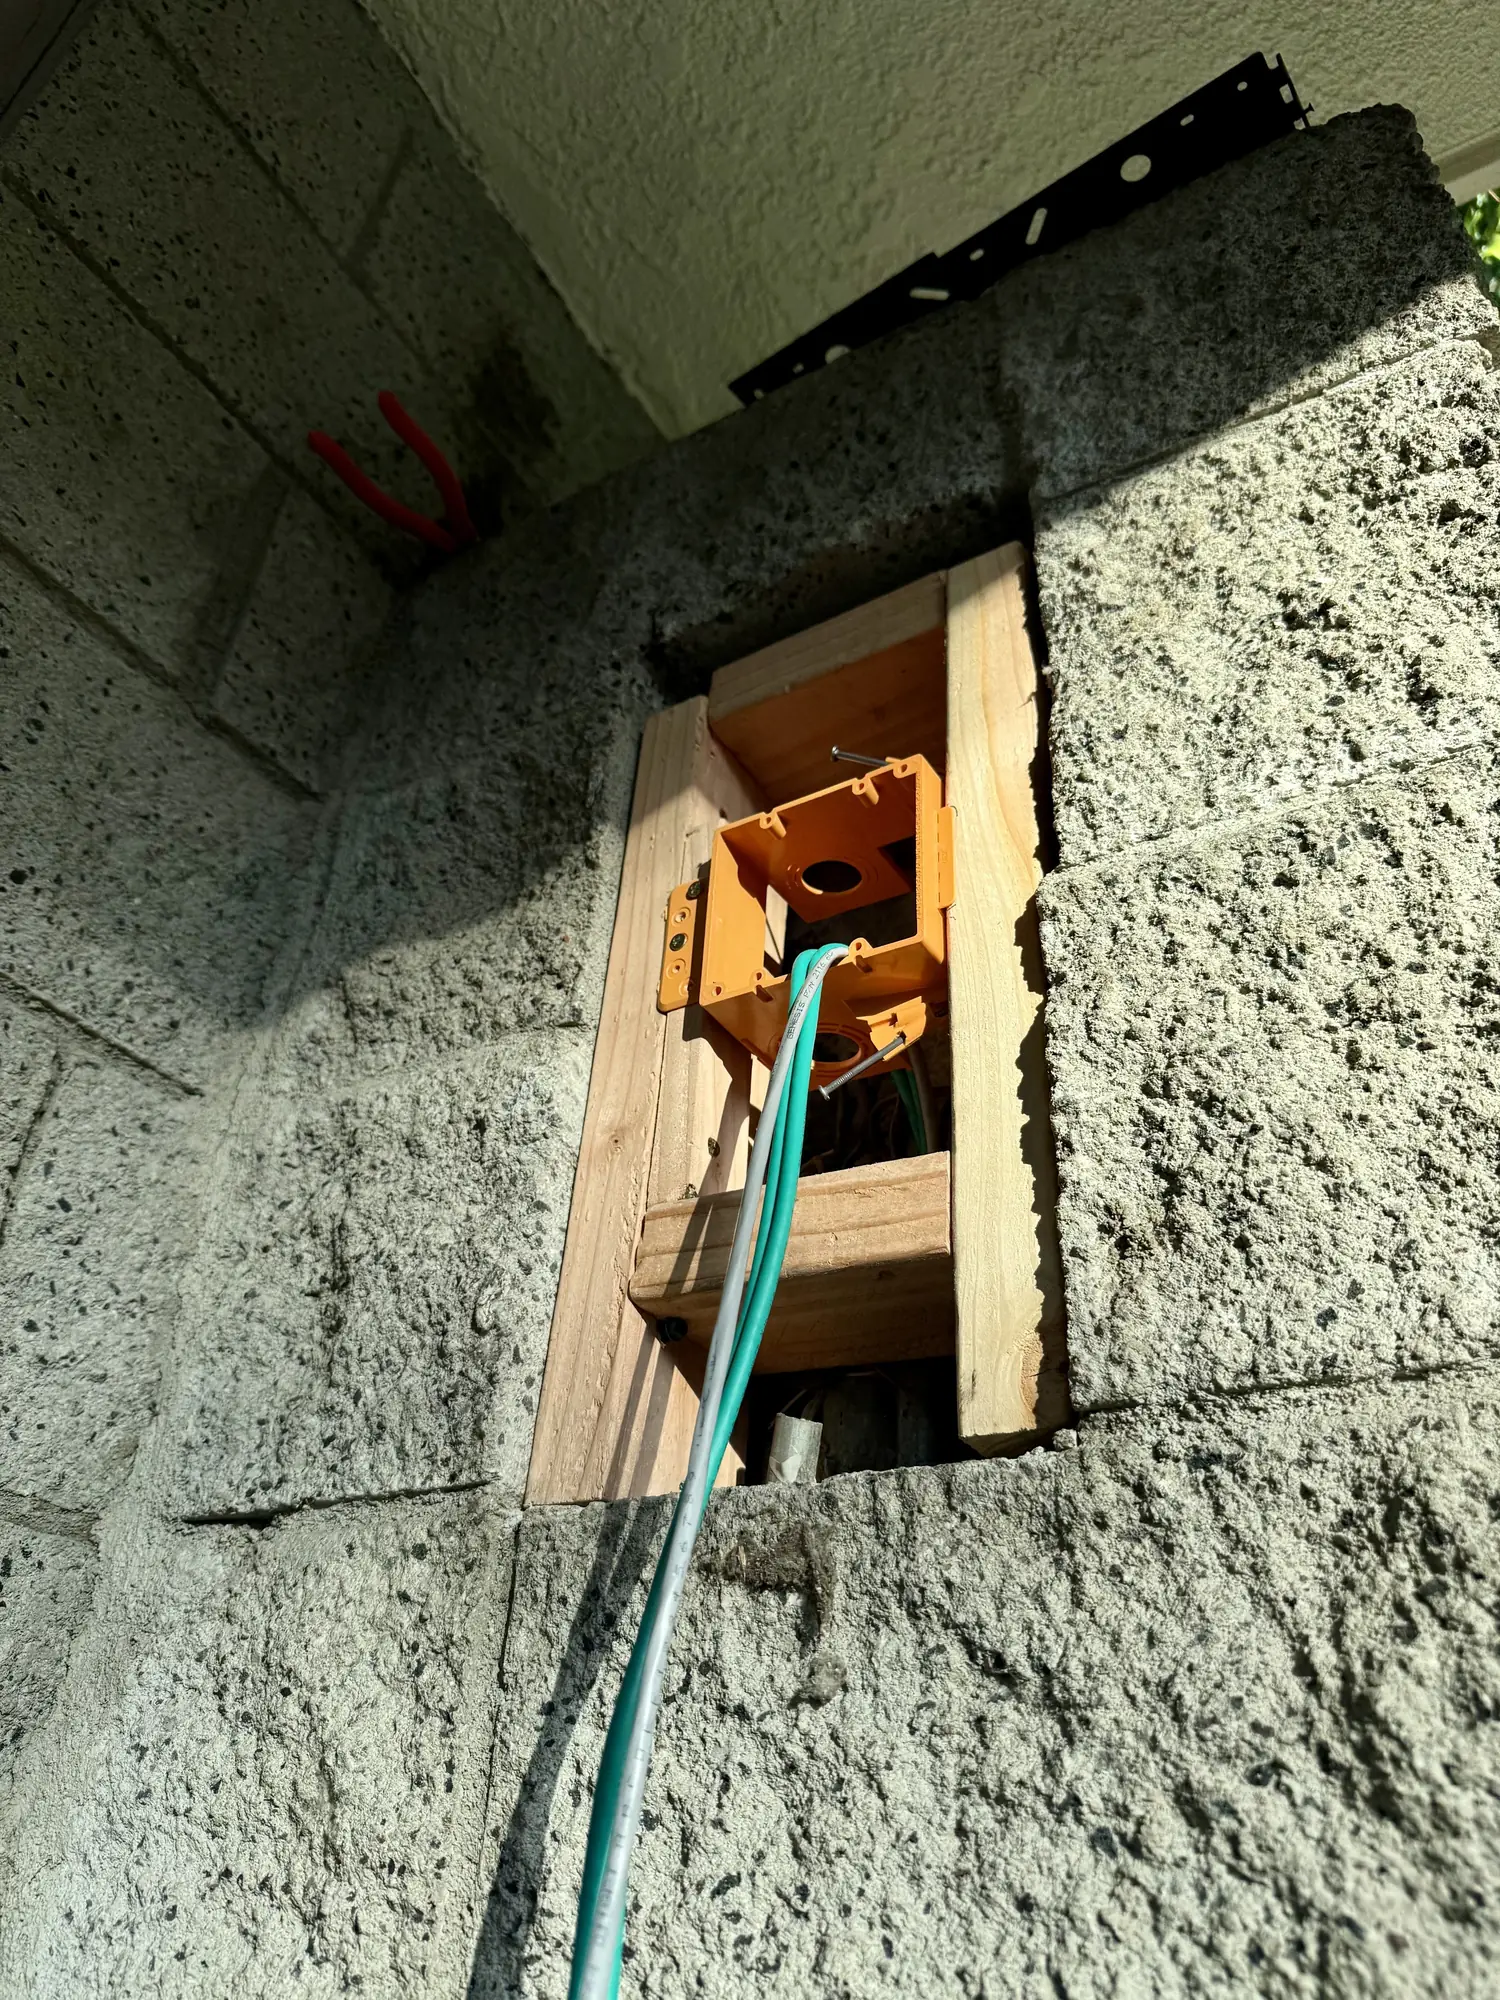
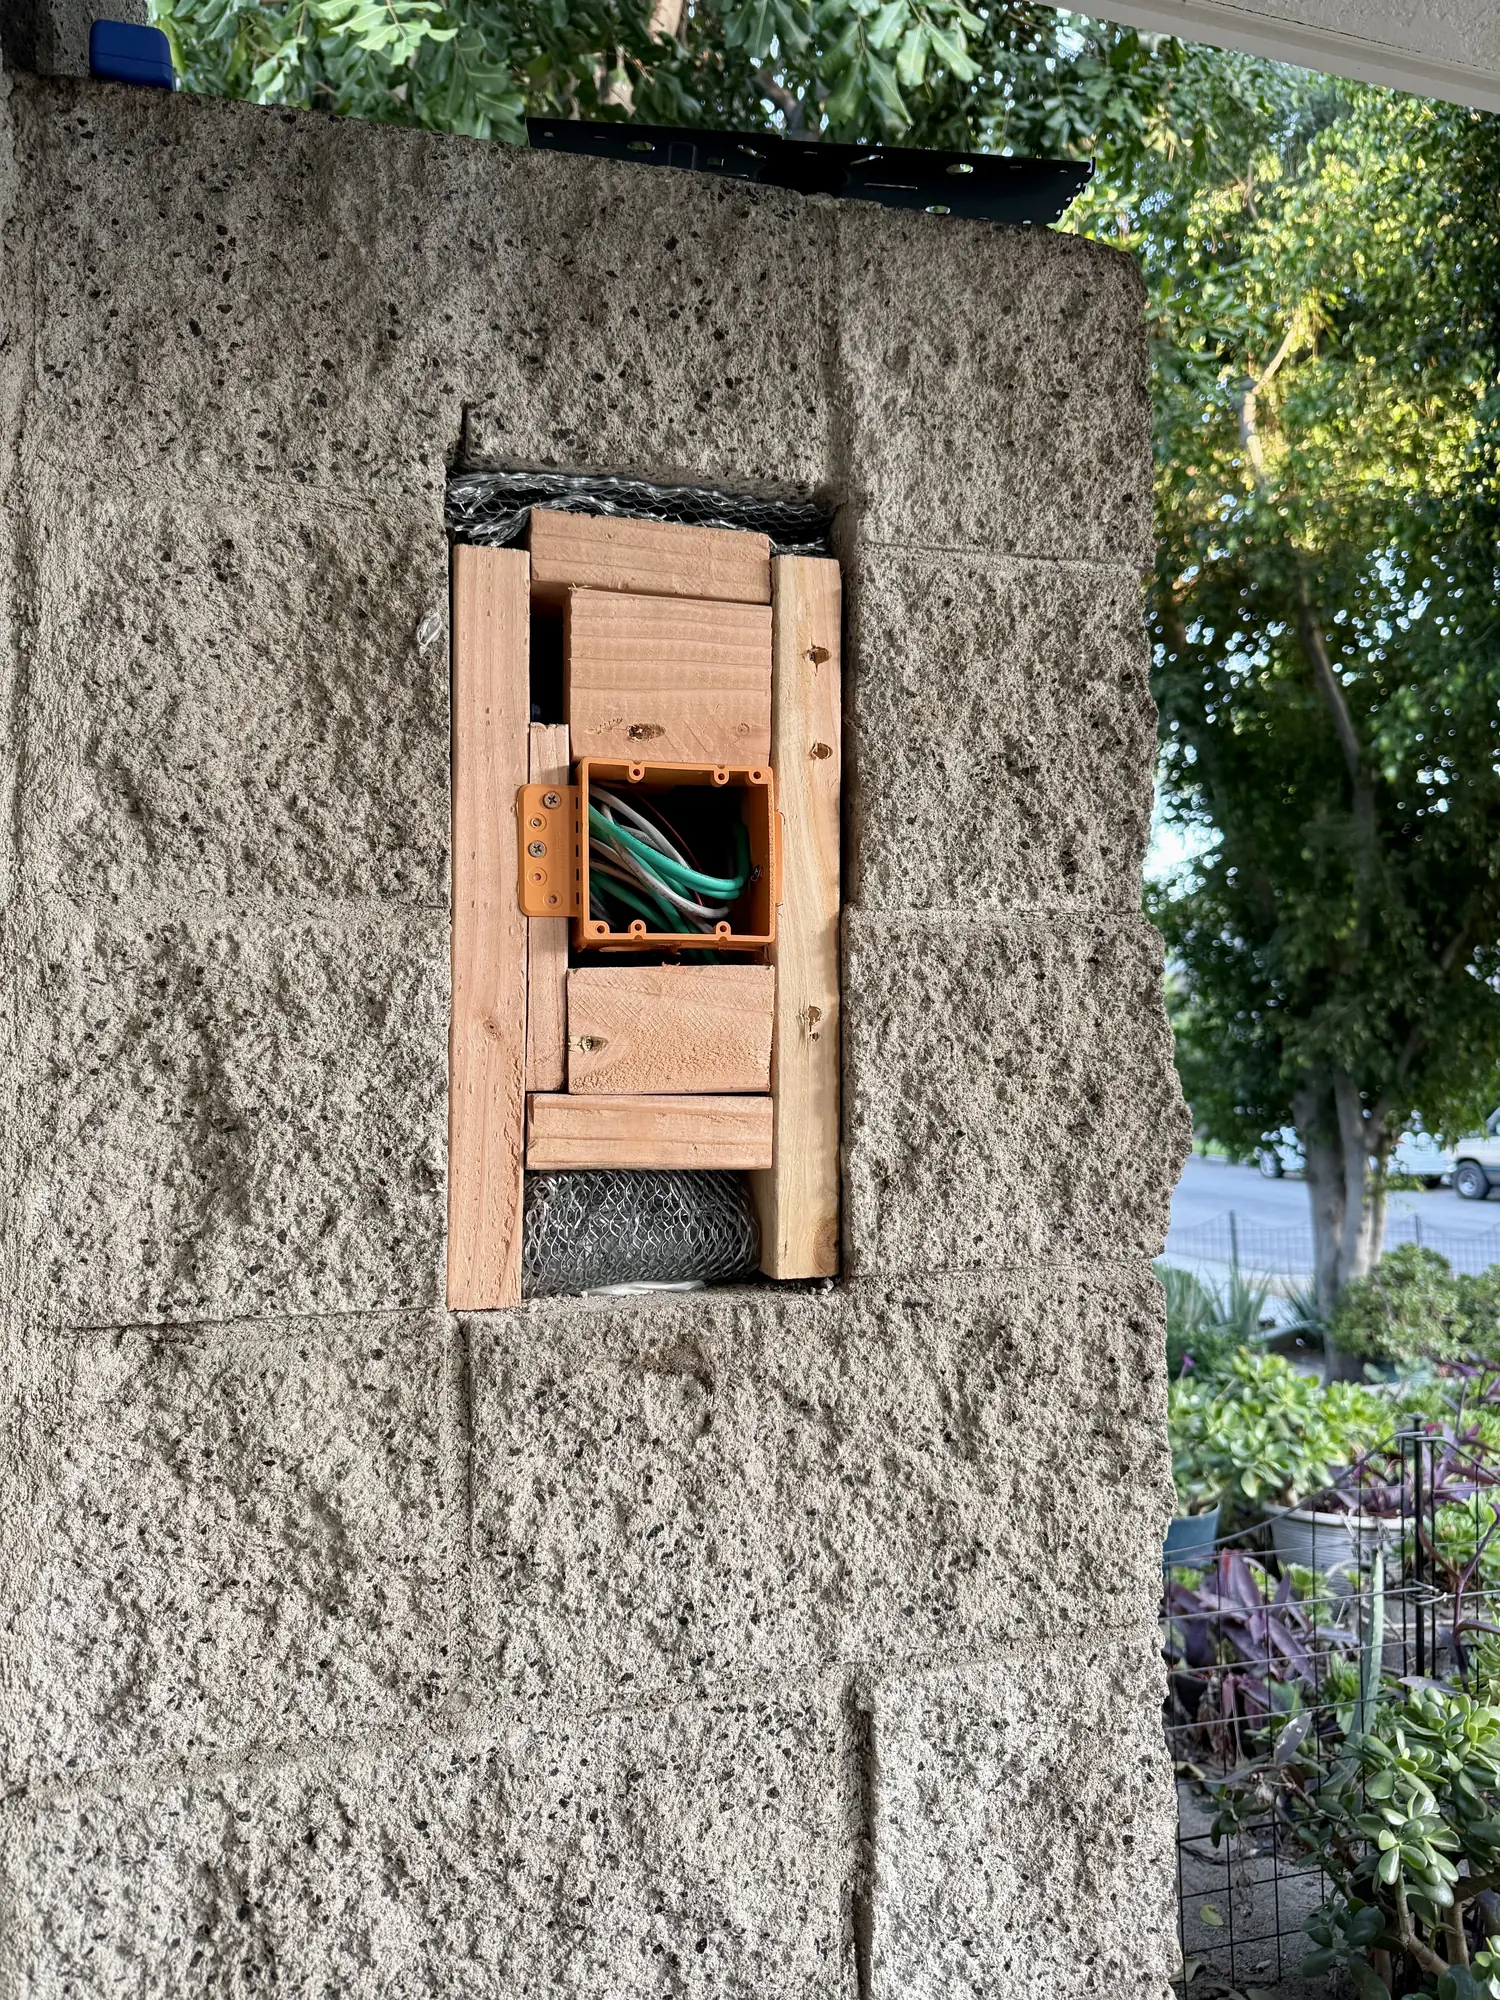
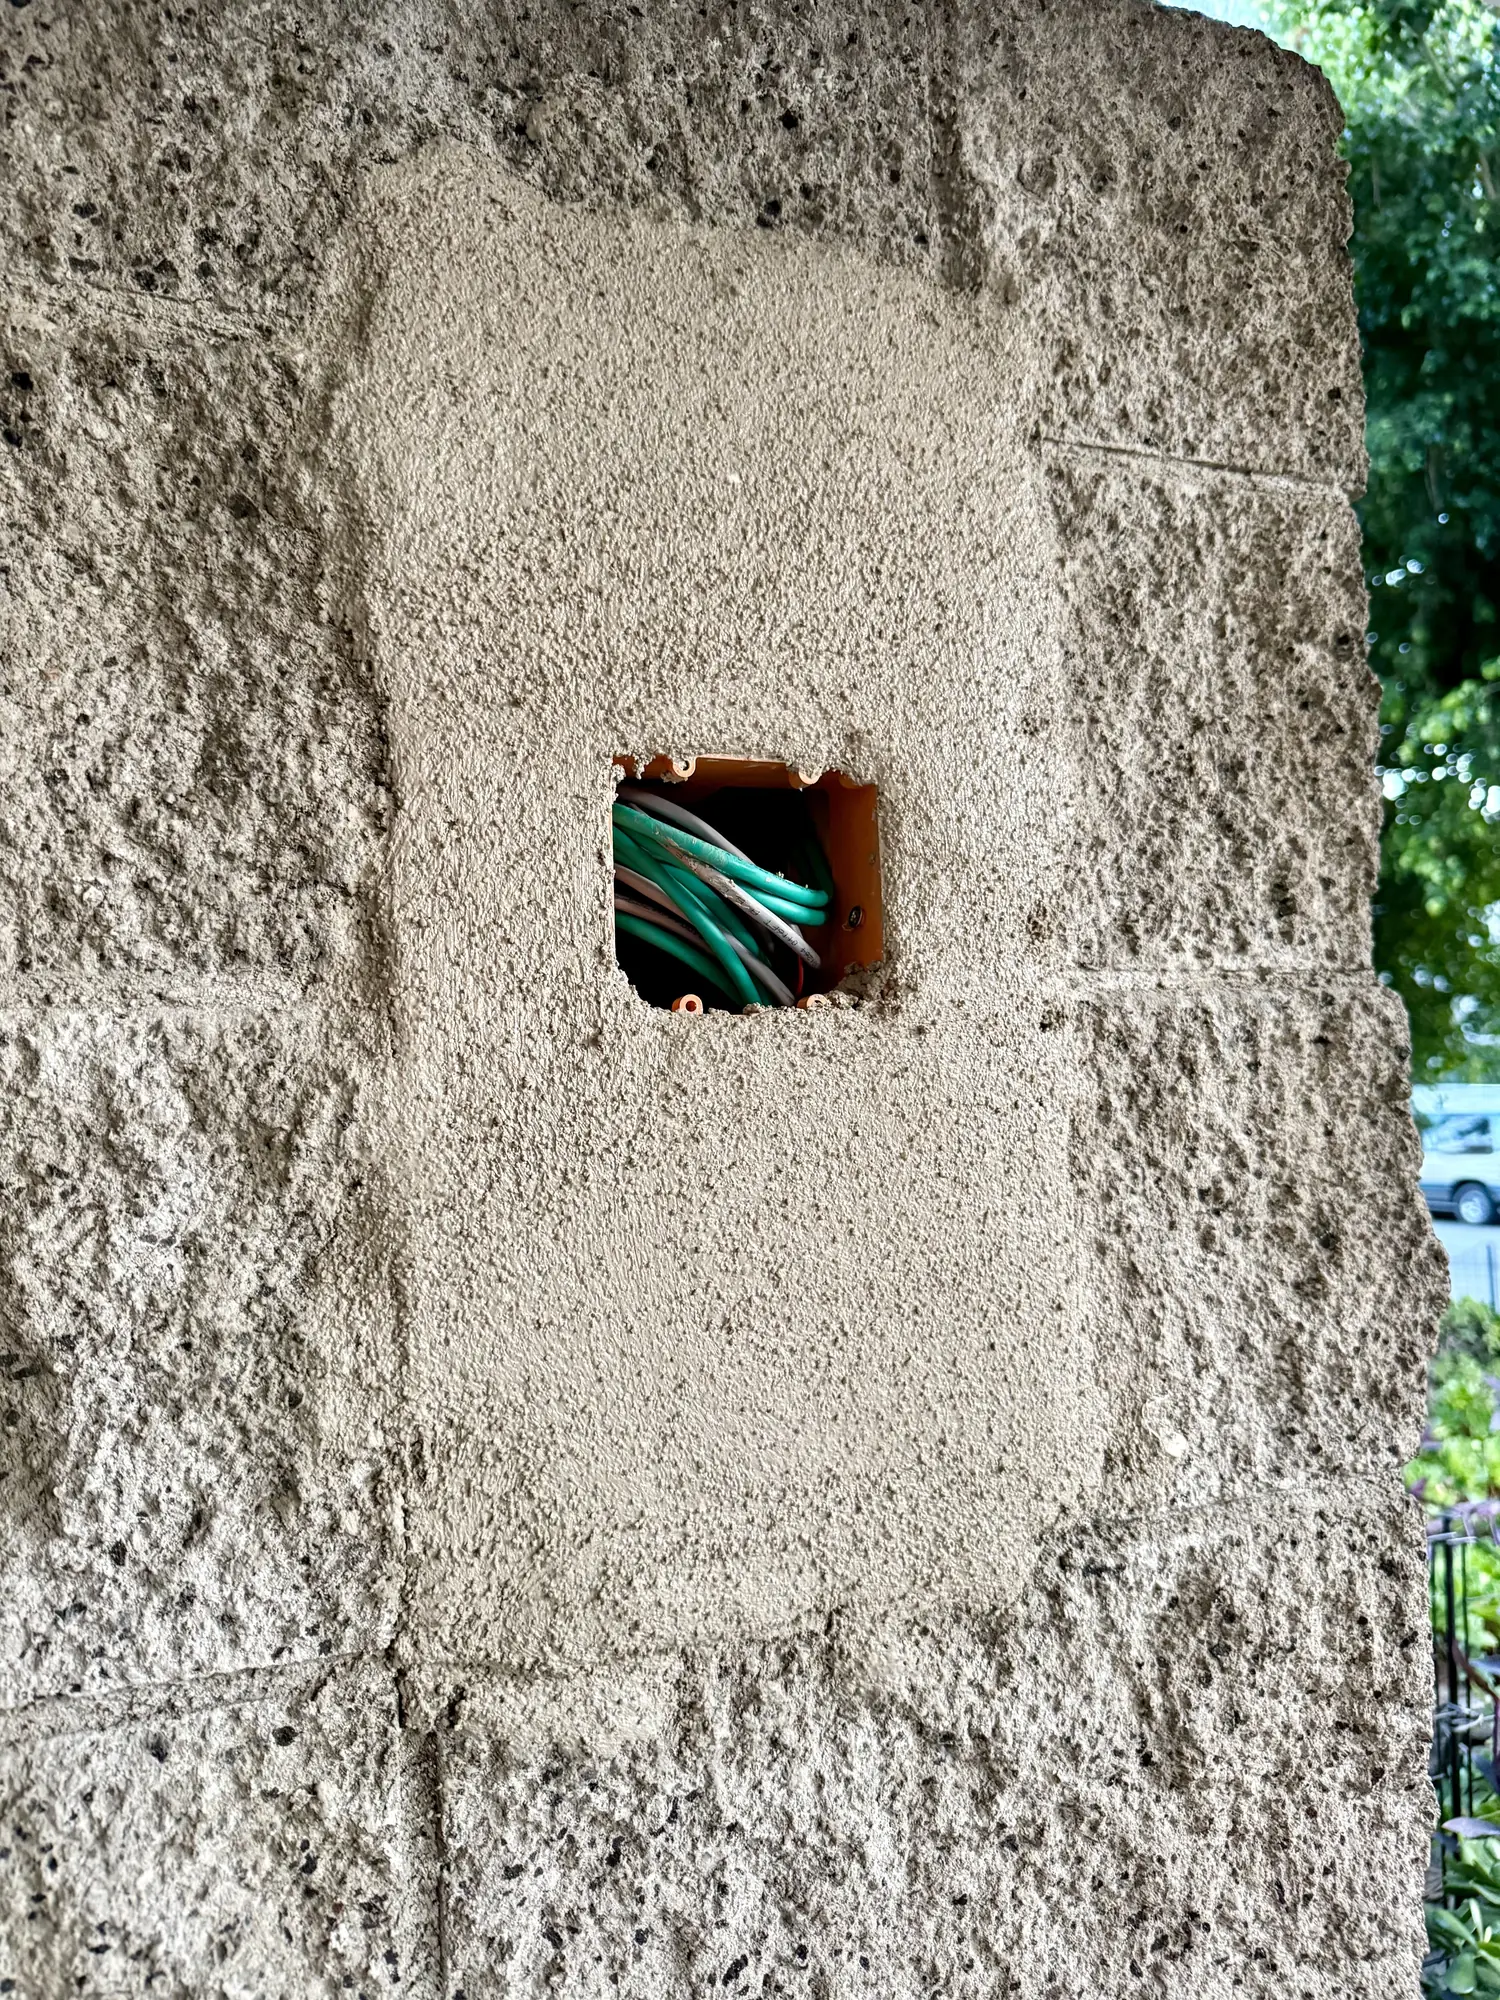
We took the old multi-button intercom out and opened the pillar for the new hardware. New Cat6 was pulled in from boxes and a spool at the base. A wooden frame and a low-voltage box were set in the cutout, and the opening was patched with stucco.
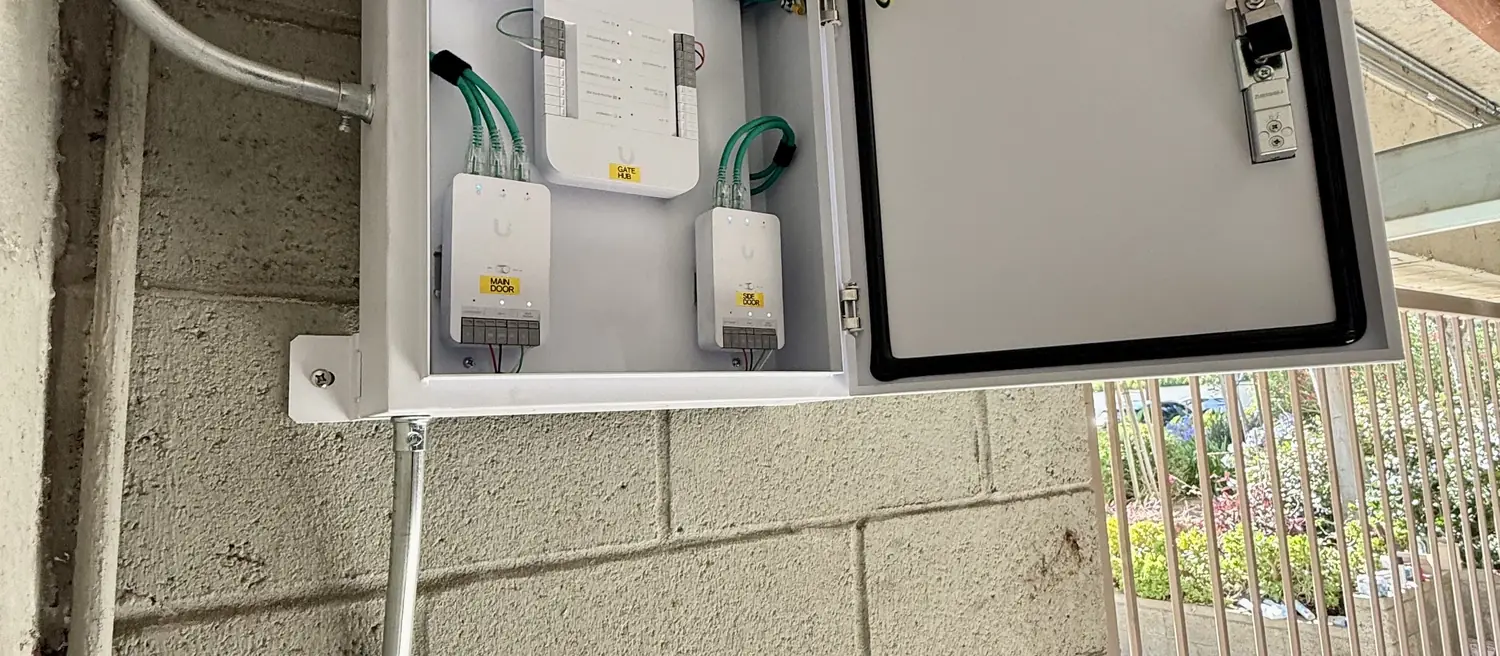
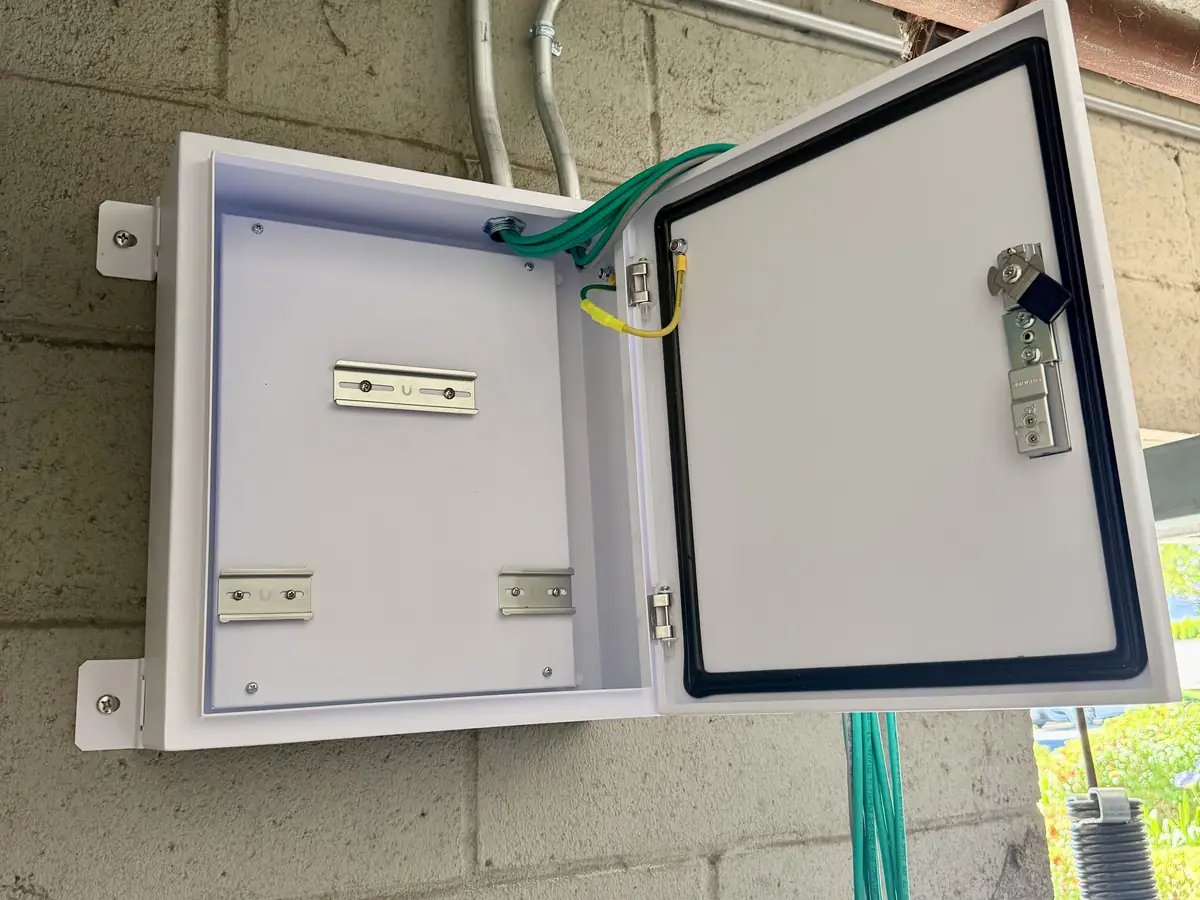
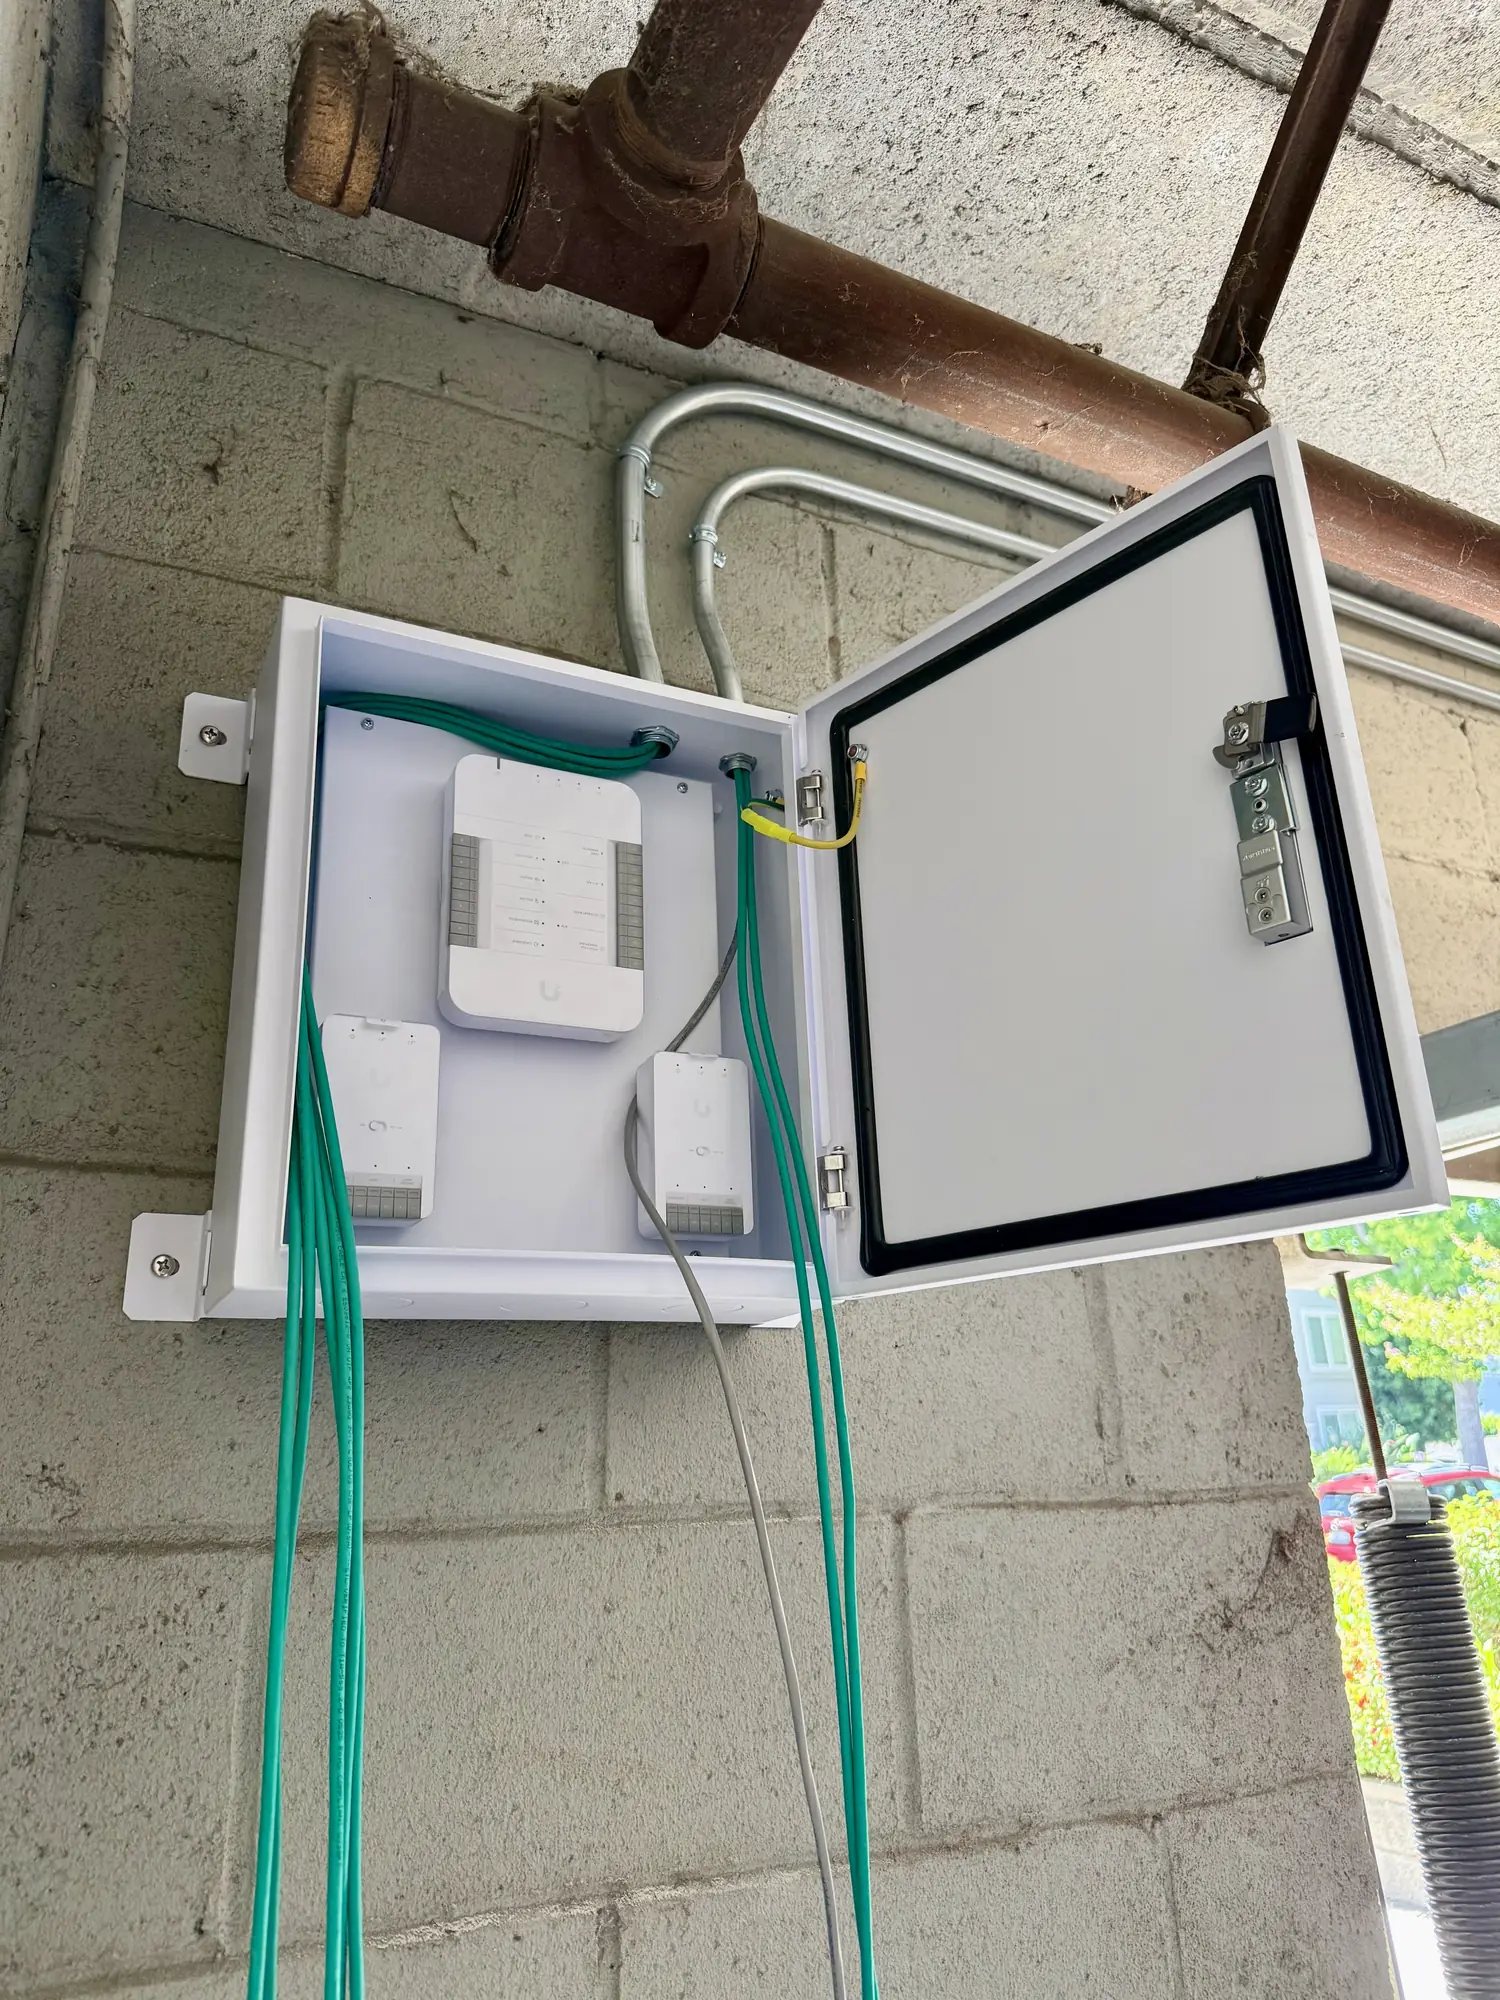
The hubs went in a weatherproof junction enclosure on a block wall near the garage. The Cat6 was pulled into the enclosure first, with the DIN rails still empty. Then the three UniFi Access hubs were mounted, the cables landed and each hub labeled GATE HUB, MAIN DOOR or PED DOOR. The existing strike wiring from the old setup was tied into a UniFi Access Door Hub, and the hubs get PoE++ power over Ethernet from the telecom room.
Key components installed:
What changed.
The old multi-button intercom is gone. A UniFi G3 Intercom now sits flush in the pillar, and the gate and doors have labeled hubs in one enclosure.
Every hub is labeled and the cable is tied down, so a technician can see which hub serves which entry.
What went in
- UniFi G3 Intercomset flush in the pillar with the UniFi Intercom Flush Mount, powered over Ethernet
- Gate Hubthe UniFi Access hub made for gate operators and one side door, labeled GATE HUB in the enclosure
- Door hubstwo UniFi Access Door Hubs, labeled MAIN DOOR and PED DOOR in the enclosure
- Cat6 cablenew runs pulled to the pillar and to the hubs
- Low-voltage boxfastened to a wooden frame inside the pillar
- Weatherproof junction enclosuremetal box with a door gasket, a ground wire and conduit entries
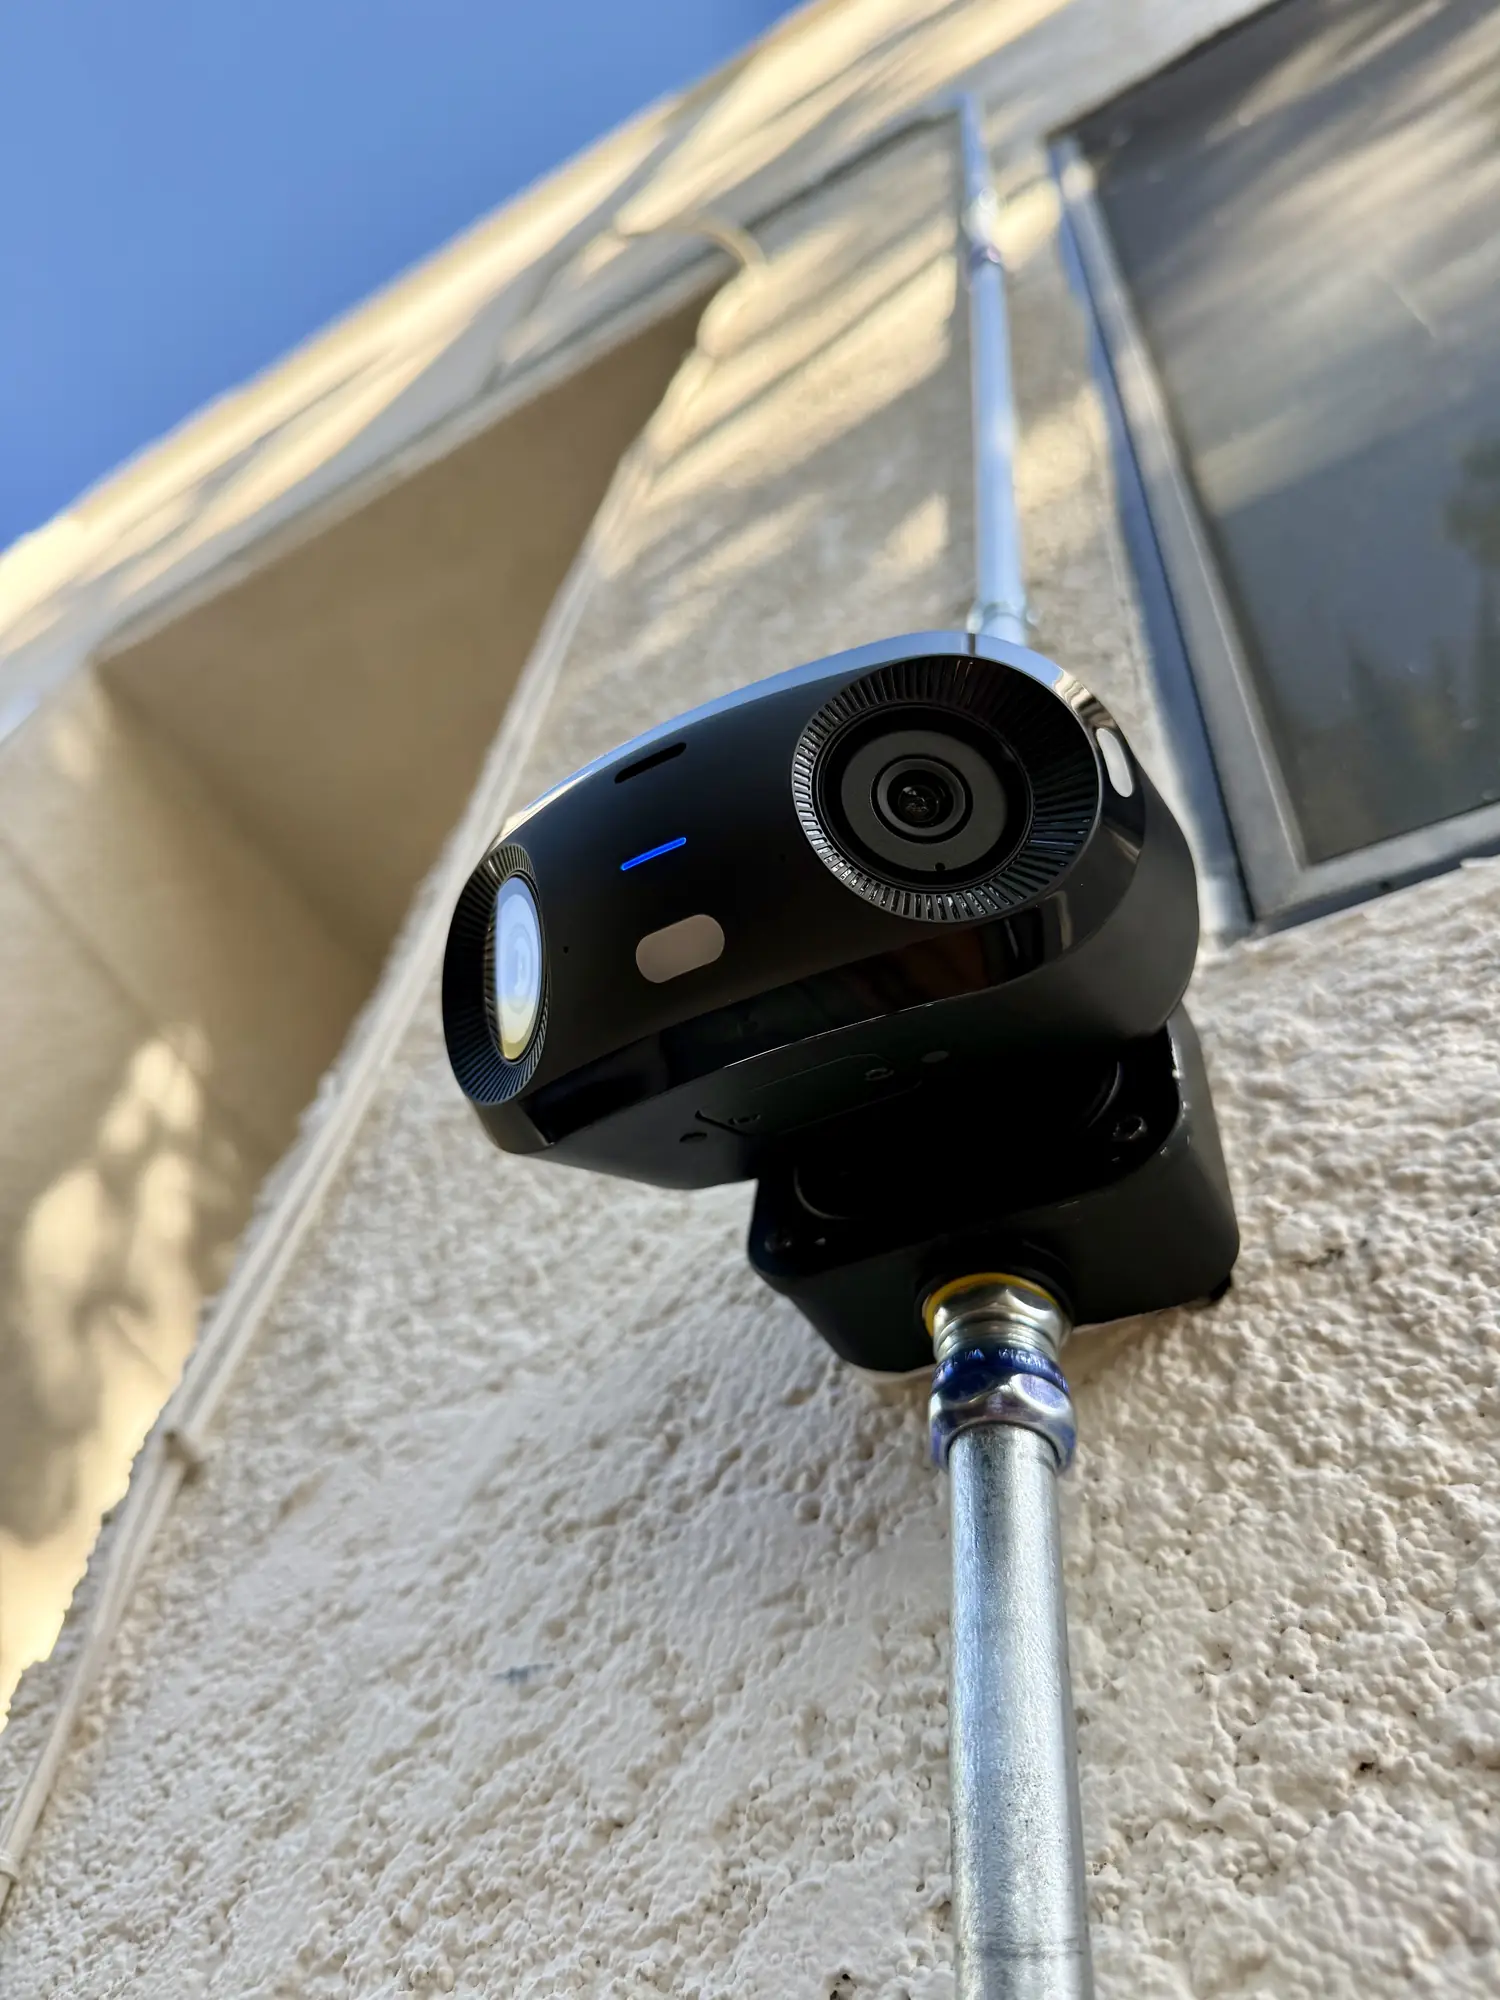
- UniFi cameraon an upgraded junction box and conduit on a stucco wall